Learn how to run your Angular application on your localhost for development.
Prerequisites
The Short Version
- From your command shell, execute the following command within the Angular project’s folder:
npm startThis will start a web server on your computer and make your web application available at http://localhost:4200/.
The Details
When you “run” your Angular application, the Angular Live Development Server will start on your computer and deploy your application. That means that you don’t have to bother installing+configuring a dedicated web server like Apache HTTP or NGINX to start developing. Here are some other cool things you get:
- Angular Live Development Server will automatically detect any changes that you make to code as you develop. It will automatically re-compile and re-deploy these changes.
- If you have your browser open to the application, the web page you are viewing will automatically refresh itself when you make changes to the code.
1. To run your Angular application, run this command from your shell, within the project’s folder:
npm startYou should see the following output if everything works:
Compiling @angular/animations : es2015 as esm2015
Compiling @angular/compiler/testing : es2015 as esm2015
Compiling @angular/core : es2015 as esm2015
Compiling @angular/common : es2015 as esm2015
Compiling @angular/animations/browser : es2015 as esm2015
Compiling @angular/core/testing : es2015 as esm2015
Compiling @angular/platform-browser : es2015 as esm2015
Compiling @angular/animations/browser/testing : es2015 as esm2015
Compiling @angular/common/http : es2015 as esm2015
Compiling @angular/platform-browser/testing : es2015 as esm2015
Compiling @angular/common/testing : es2015 as esm2015
Compiling @angular/platform-browser/animations : es2015 as esm2015
Compiling @angular/platform-browser-dynamic : es2015 as esm2015
Compiling @angular/router : es2015 as esm2015
Compiling @angular/forms : es2015 as esm2015
Compiling @angular/common/http/testing : es2015 as esm2015
Compiling @angular/platform-browser-dynamic/testing : es2015 as esm2015
Compiling @angular/router/testing : es2015 as esm2015

chunk {main} main.js, main.js.map (main) 60.6 kB [initial] [rendered]
chunk {polyfills} polyfills.js, polyfills.js.map (polyfills) 141 kB [initial] [rendered]
chunk {runtime} runtime.js, runtime.js.map (runtime) 6.15 kB [entry] [rendered]
chunk {styles} styles.js, styles.js.map (styles) 12.4 kB [initial] [rendered]
chunk {vendor} vendor.js, vendor.js.map (vendor) 3 MB [initial] [rendered]
Date: 2020-05-07T03:56:00.197Z - Hash: 84946c08e4fdea4de848 - Time: 6600ms
** Angular Live Development Server is listening on localhost:4200, open your browser on http://localhost:4200/ **
: Compiled successfully.
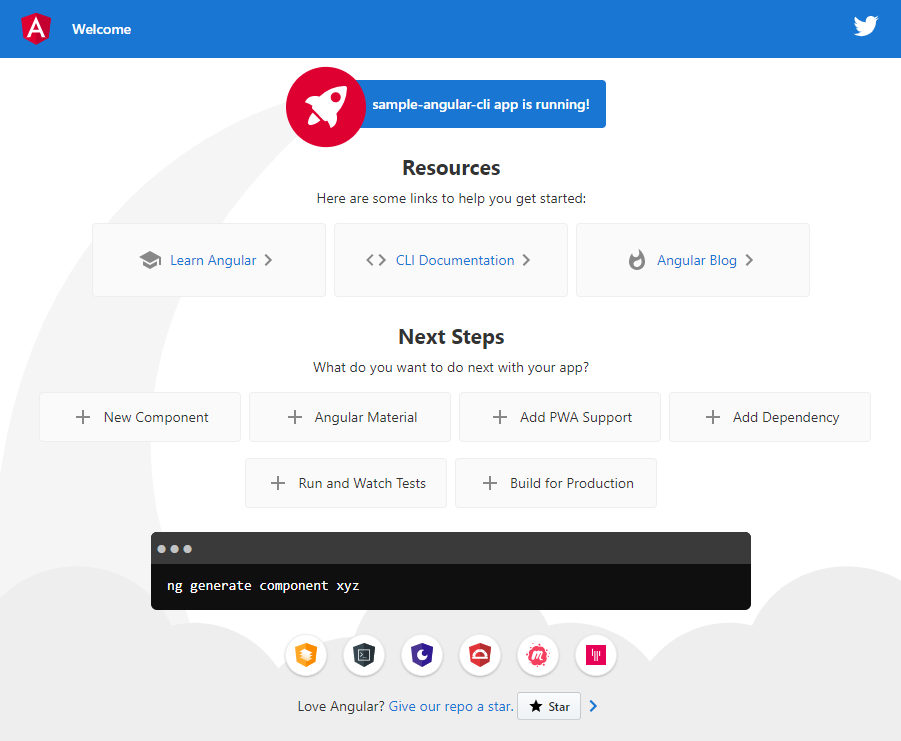
When you open your web browser to http://localhost:4200/, you will see a demo Angular web page:

Behind the scenes, this command executes ng serve, which is the default action for the start script in the package.json file:
{
  ...
  "scripts": {
    ...
    "start": "ng serve",
    ...
  },
  ...
}
The command ng serve has many options, and you could add those options by altering that start script.
For example, one convenience option commonly used by developers is -o. The -o option tells Angular CLI to automatically open your web browser to http://localhost:4200/ when you run the Angular application:
{
  ...
  "scripts": {
    ...
    "start": "ng serve -o",
    ...
  },
  ...
}
Next
Now that we have a web application up and running, we can replace the demo application with code of our own. We learn how to do that in the next article.
